2. Some wood species are not meant to be stained.
Before applying stain to your wood floor, you need to know what species it is. Floors made of maple, birch, and coniferous woods (especially pine or fir) are all very difficult to stain evenly. Maple and birch are tight-grained woods with very small pores, and the density of the pore wall fibers varies drastically.
In other words, the particles of stain pigment have fewer places where they can wedge themselves and those places are not regularly spread through the wood.
Pine has the same variations in pore wall density, but to make matters worse, coniferous wood fibers contain resin or sap that actively resists stain. Even though stain manufacturers provide sample chips of stained maple or pine, do not be fooled; those sweet little chips are easy to stain precisely because they are little. Over a large, uninterrupted area like a floor, blotching and mottling will be much more apparent.
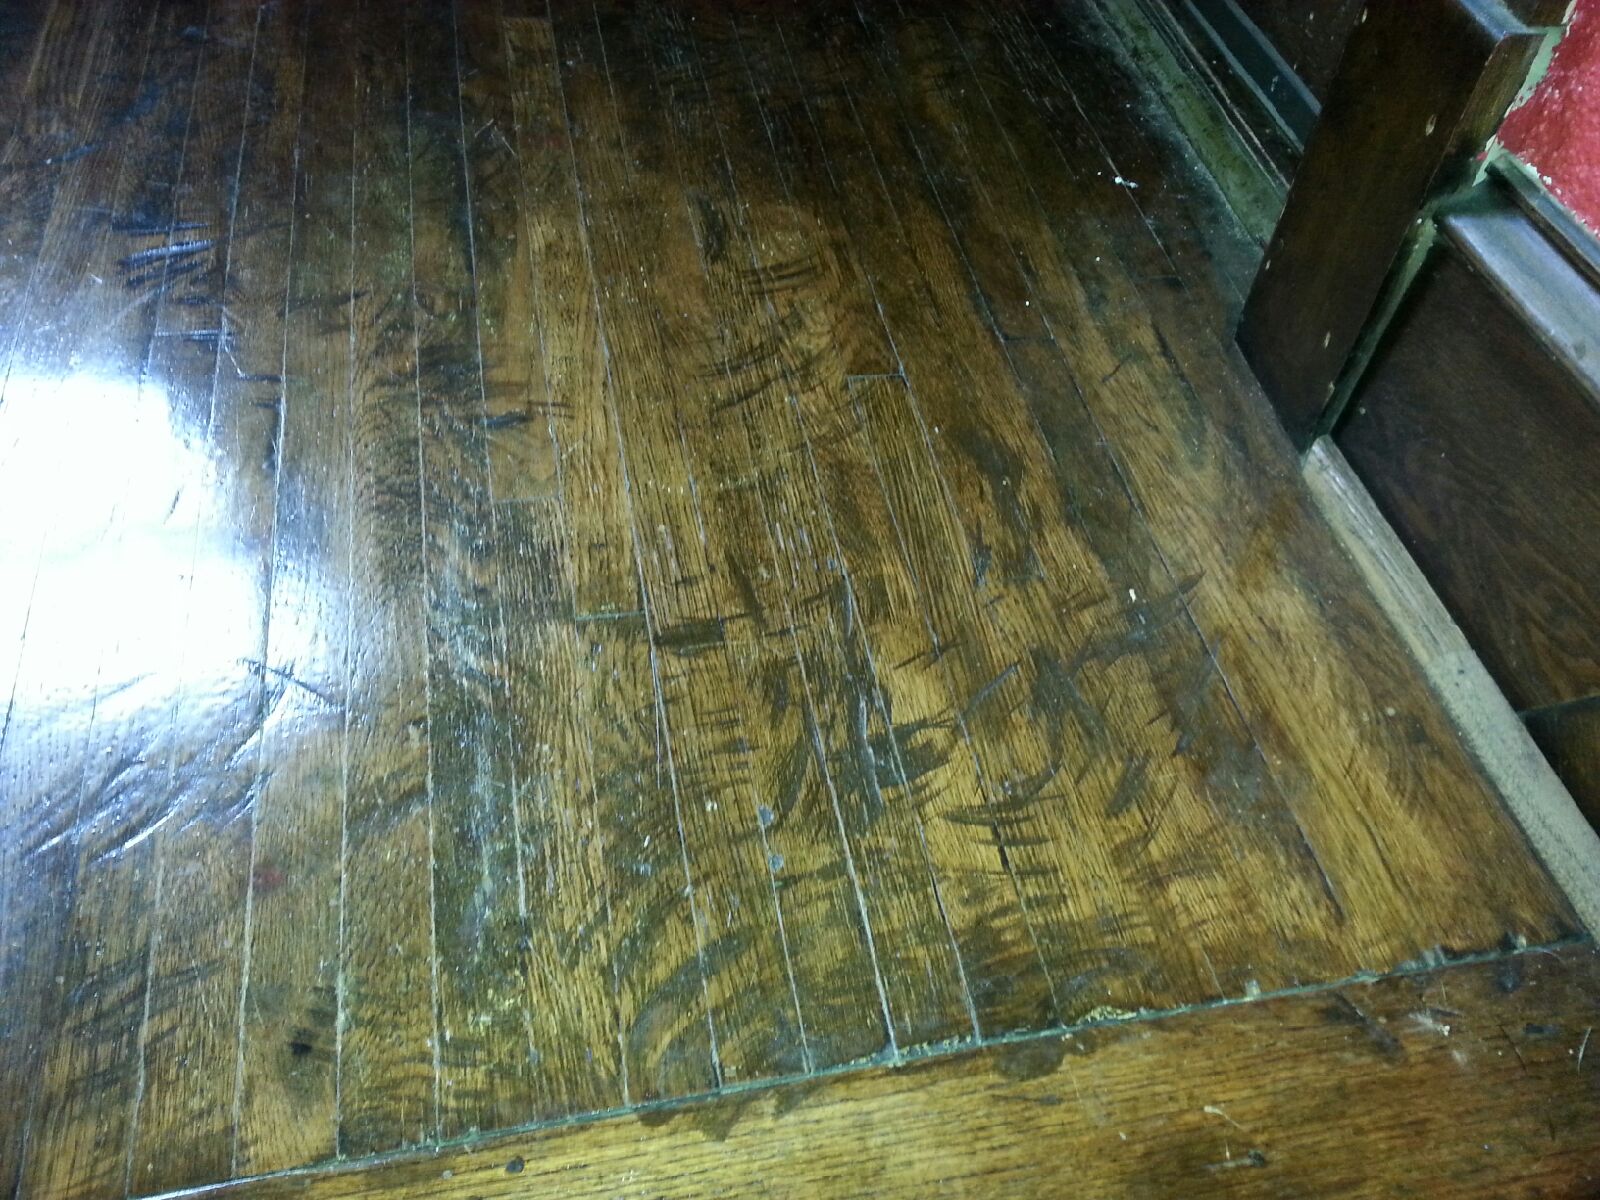
Red oak and white oak floors absorb stain more uniformly, but be aware that there is a difference between the density of earlywood (or springwood) and latewood of these species. As you can see from the photo above right, the more porous springwood stains considerably darker than the dense latewood, giving the boards a distinct zebra-striped look.
Once a customer understands the ramifications of staining a floor, the idea of a clear-coat finish starts to look very attractive. However, if you are one of those stalwart types who, despite all the warnings, declares that you are ready for the challenges of stain, there are some things you can do to make the process easier and more successful. Proceed to the page Yes, I Know Staining Is a Headache…I Am Going to Try It Anyway.
3. Bleedback is ugly.
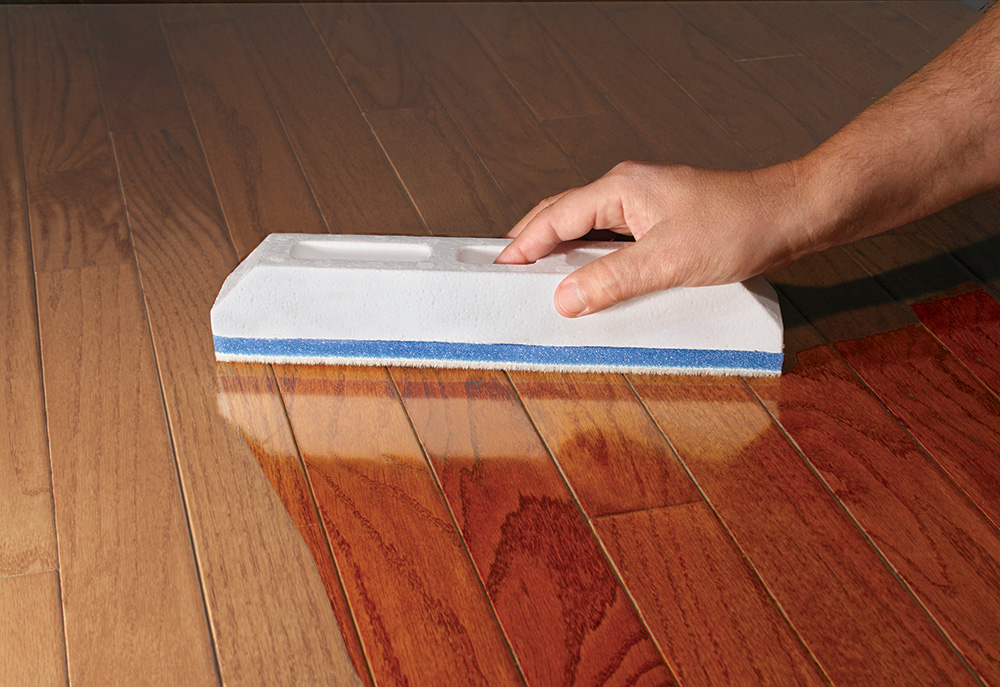
Stain is applied differently than almost any other finish: it is usually rubbed onto the wood with a soft cloth and then immediately wiped off. The amount of stain that a floor can absorb is finite; the floor will not get darker if you flood it with an excess of stain or apply a second coat.
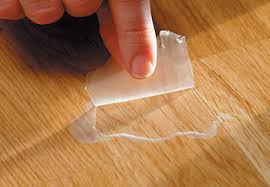
Using excess amounts or applying multiple coats of stain can cause the stain to 'bleed back,' where it wicks back up to the surface of the board as solvent begins to evaporate.
Bleedback can also occur after a finish coat has been applied to a layer of stain that has pockets of uncured stain in the gaps between the boards, in which the pigment seeps up and into the clear finish, leaving a cloudy streak
You can also get something similar to bleedback if you coat over a dried stain with an incompatible finish. If your finish contains a solvent that can re-dissolve the binder in your stain, particles of stain pigment (even if they were fully dry to the touch before top-coating) will blotch or seep into your finish.
Using stains and finishes that are advertised as compatible (like our products) is the most foolproof way to avoid solvent interference.
4. Stain adds waiting time. A lot of waiting time.
Latex paints have set very high expectations about drying and recoat times—expectations you need to leave behind if you are staining a floor. This is because stain is just the first step in the process of finishing your floor.
Pigments alone do not provide much in the way of abrasion or solvent resistance, so most people add two or three layers of some clear, protective finish over stain.
But if your stain coat is not completely dry, it will not allow any subsequent coats to bond. Finish that doesn't bond will smudge and even peel off easily - sometimes it can't even cure at all. This is a catastrophe and the only way to fix it is to sand everything off and begin again. This is a sad and very expensive circumstance. So, given the dire consequences of coating over stain too soon, we recommend that you allow stain to dry for 48 hours even under the ideal heat, humidity, and air exchange conditions specified by the manufacturer, and 72 hours is better.
All stains dry by solvent evaporation; if your windows are closed or if the heat is set too low or turned off, the solvent cannot evaporate, and the stain takes longer to dry.
Low temperatures, high humidity, using too much stain, and not wiping it off thoroughly will all lengthen the drying times. For example, if you are staining during a thunderstorm in August, you could wait up to four days before it is safe to topcoat that stain—four days, plus a day for each coat of finish, and then a day to allow the last finish coat to cure.
This is when you ask yourself whether you want a dark-stained floor badly enough to wait a full week—or longer—before you can move furniture back into your room.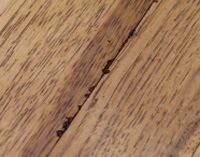 |